


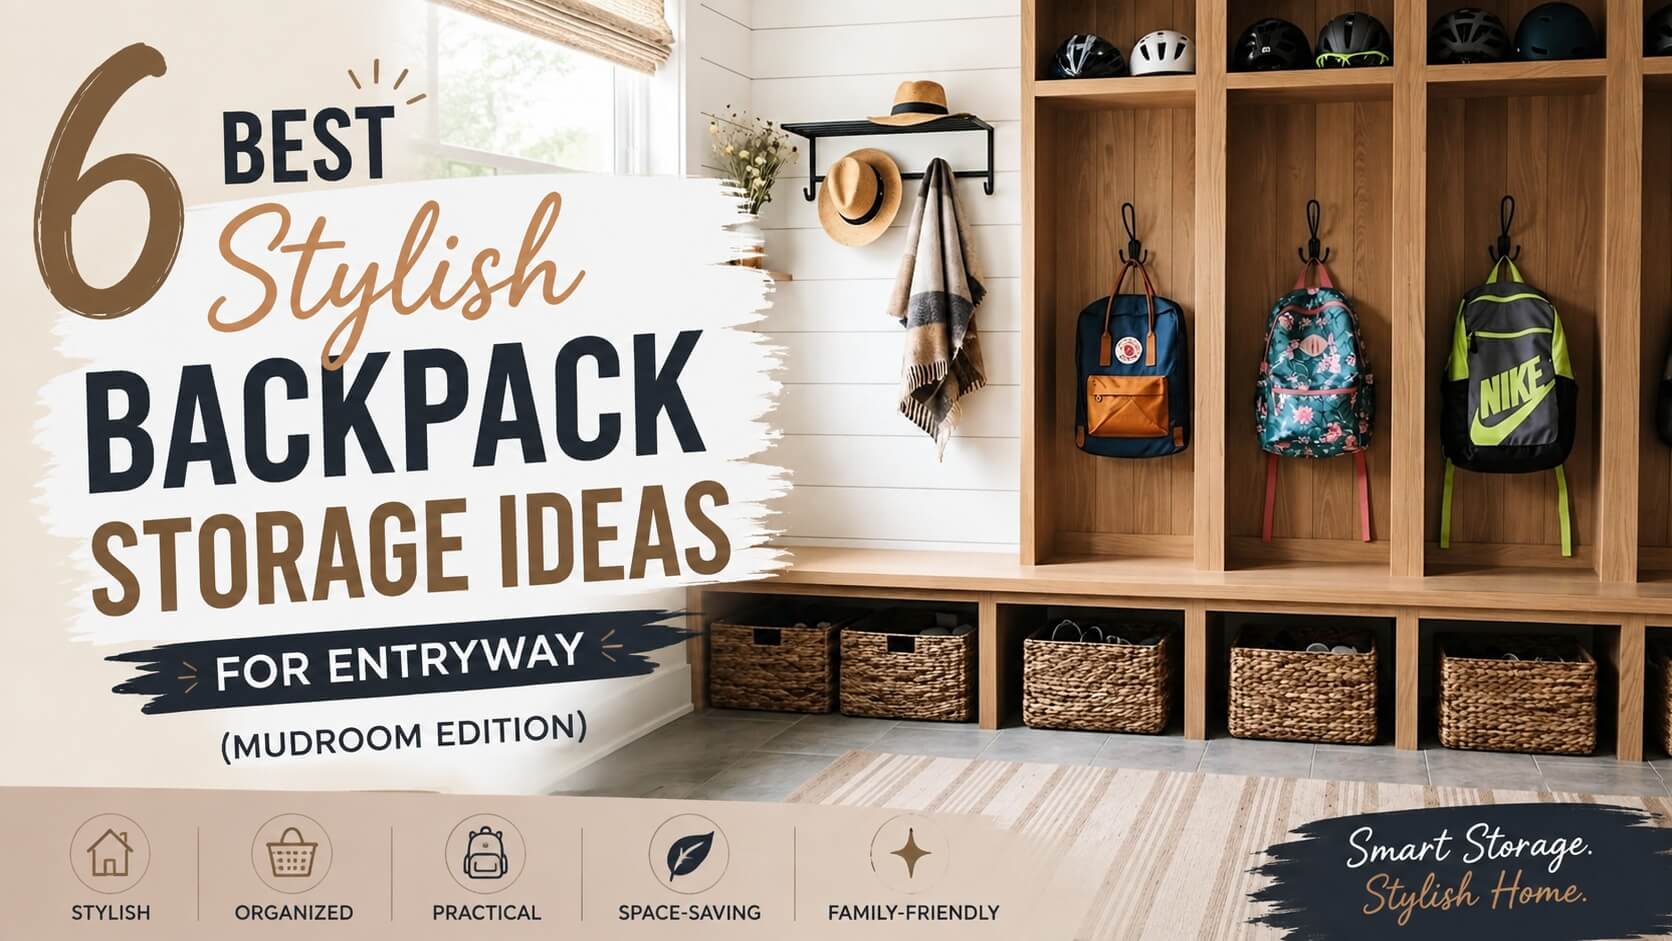


Every house I’ve ever lived in has had the same 3:15 PM problem. Backpacks land wherever gravity takes them — the floor, the third stair, right in the exact spot you need to walk through five minutes later carrying groceries. I used to think we just needed a bigger entryway. Turns out that wasn’t it at all. The house wasn’t too small. The bags just didn’t have a place to go.
That’s the whole idea behind good backpack storage ideas for entryway setups, honestly. It’s not about square footage. It’s about giving each bag one specific spot so nobody has to think about it.
I’ve pulled together six setups below — some cost almost nothing, a couple lean more toward “hire someone.” A few I’ve built myself, a couple I’ve seen in client homes while working on entry layouts. None of them need a full renovation to get started.
Architecture goes beyond concrete, walls, and structures—it is about creating experiences and giving spaces a sense of purpose. At CurbToCorner, I transform creative visions into thoughtful realities, exploring innovative designs, inspiring concepts, and architectural ideas that bring every space to life, one project at a time.
Quick Answer, If You’re in a Hurry
Wall hooks near the door, paired with a bench for shoes, solve this problem faster than anything else on this list — and cost the least. If you’ve got more than one kid and the “whose bag is this” argument happens daily, a locker-style mudroom backpack storage setup with individual cubbies fixes that specific headache. Everything else here falls somewhere between those two.
Why Backpacks Never Really Have a Home
Closets were built for coats. Nobody designed them with a boxy 15-inch backpack in mind, so the straps snag on hangers, the shape doesn’t stack, and eventually the bag just lands on the floor by the door — usually right where you’re trying to walk.
It sounds minor. But a pile of bags makes a whole room look messier than it actually is, and it’s often the first thing you notice walking in after a long day. You don’t fix that by buying more furniture. You fix it by matching the right setup to how your family actually moves through the door, which is really what good entryway backpack organization comes down to.
1. Hooks on the Wall, Right by the Door


Cheapest option here, and the one that changed things the most for us. Two or three sturdy hooks at kid height, mounted where the backpack naturally gets dropped anyway. Add a slim floating bench underneath for shoes, maybe a small basket on top for sunglasses and keys.
There’s nothing to assemble beyond drilling a few holes. My youngest could use hers on day one without being shown twice. If your entryway is more of a hallway than a room, this is where I’d start — it works in about ninety percent of homes I’ve seen, regardless of layout. Most backpack storage ideas for entryway spaces start with this exact realization.
2. Wood Locker Cubbies (The Classic Farmhouse Look)

This is what most people picture when they hear “mudroom.” Individual wood-paneled cubbies, each one with its own hook, topped by open shelving for helmets or hats, with a woven basket underneath for shoes. It takes a weekend to build if you’re handy, longer if you’re paying someone.
What I like about this one: everyone gets an assigned spot. That alone kills most of the “that’s not mine” arguments before they start. It’s also open at the top, so damp jackets actually dry instead of getting trapped in a closed cabinet — a small detail, but it matters more than you’d think during a rainy week.
Good for families with two or three school-age kids who need their own space, not a shared bin. It remains one of the more requested mudroom backpack storage layouts for exactly that reason.
3. Color-Coded Cubbies for Younger Kids

For little ones who can’t read a label yet, color does the job instead. Arched cubbies in a soft sage tone, each with a hook and a different colored basket underneath — blue for one kid, red for another. Books and sports gear sit on a shelf up top.
I’ll admit this one surprised me. I didn’t expect color-coding to matter as much as it does, but kids remember “my basket is the blue one” way faster than they remember which cubby is theirs by position. If you’ve got elementary-age children, this is worth the extra bit of paint. It’s a heavier-duty take on mudroom backpack storage than most entryways need, but it earns its keep in busy households.
4. Backlit Wall Niches (Minimalist, Modern)

Here’s the one for people who care about how the entryway looks, not just how it functions. Individual lit niches built into a wood wall let each backpack sit upright on display, rather than slouched over on a hook. Pair it with a floating bench and a round mirror and the whole wall reads more like a design feature than storage.
It’s not the most practical option on this list, I won’t pretend otherwise. But it does solve one real problem — bags don’t touch or tangle straps with each other, since each one gets its own slot. Better suited to smaller households where there aren’t five backpacks competing for space. A few habits quietly undermine even the best entryway backpack organization setup.
5. Premium Walnut Cabinetry With Lit Shelving

This is basically idea #4, scaled up. Rich walnut millwork, lit shelves for each bag, a stone bench with hidden drawers built in underneath. Not a weekend project — this needs a contractor and a real budget.
I include it here because it shows what’s possible when backpack storage gets designed into a house from the start, rather than tacked on after the fact. Every bag gets breathing room. The drawers below quietly absorb the stuff that doesn’t have a home otherwise — scarves, umbrellas, the odd glove that’s missing its pair.
6. Cabinets, Hooks, and Wire Baskets Together

This is the setup that does the most actual work, even if it’s not the prettiest on the list. Upper cabinets store off-season gear out of sight. A row of hooks handles the daily backpacks. A wood counter holds bins for sports balls. A wire basket tower on the side keeps shoes sorted by pair instead of in one giant heap.
Less about looking good in photos, more about surviving a household with three active kids and a garage full of gear. If backpacks are only part of your clutter problem — sports equipment counts too — this combo setup handles more ground than any single piece of furniture could.
Comparison Table: Which One Actually Fits Your Home?
| Idea | Cost Range | Setup Difficulty | Best For | Space Needed |
|---|---|---|---|---|
| Wall Hooks + Bench | $20–$100 | Easy — a weekend afternoon | Apartments, narrow hallways | Minimal |
| Wood Locker Cubbies | $300–$1,200 | Moderate — a full weekend | Families with 2–3 kids | Medium |
| Color-Coded Cubbies | $250–$900 | Moderate | Younger kids | Medium |
| Backlit Wall Niches | $800–$2,500 | Hard — needs a contractor | Modern, minimalist homes | Medium |
| Walnut Cabinetry | $2,500–$6,000+ | Hard — full renovation | Design-focused renovations | Large |
| Cabinets + Hooks + Baskets | $500–$1,800 | Moderate | Large, active families | Large |
A Few Things I’ve Learned the Hard Way
Mount hooks at your kid’s actual shoulder height, not yours. Sounds obvious, but I got this wrong the first time and wondered for a month why bags kept ending up on the floor anyway.
Keep the daily zone right at the door. Anything further than a few steps in gets skipped in the morning rush — I promise, nobody’s walking to the hall closet with thirty seconds before the bus.
A washable rug under the whole setup saves your floor more than people expect, especially if you’re anywhere that gets real winters.
And if floor space is tight, just go vertical. Wall storage almost always beats floor bins for anything used daily — bins are better suited to stuff you grab once a week, not once a day.
Mistakes Worth Avoiding
- Bins instead of hooks for daily bags. Bins are for storage, not for a rushed morning. Bags end up next to the bin, not in it, almost every time.
- Putting storage too far from the door. If it’s not the very first thing you see walking in, it won’t get used consistently — I’ve watched this happen in more homes than I can count.
- Forgetting shoes entirely. Backpacks and shoes get dropped together nine times out of ten. Split them into two different rooms and you’ve basically broken the system before it started.
- Going bigger than the room needs. A five-cubby locker wall looks incredible in photos, but crammed into a narrow entry it just makes the space feel smaller.
FAQs
What’s the cheapest backpack storage option for a front door?
Wall-mounted hooks, hands down. Usually under thirty dollars, and you can have them up in under an hour with a drill and a level. It’s usually the easiest starting point for backpack storage ideas for entryway spaces on a tight budget.
How do I actually stop backpacks from landing on the floor?
Put the hook exactly where the bag naturally gets dropped — not where you wish it would go. That spot is almost always closer to the door than people initially plan for.
Do I need a real mudroom for this to work?
Not at all. A row of hooks in a regular hallway does the same job as a full mudroom, just without the square footage.
What works best for a house with multiple kids?
Locker-style cubbies with a hook and basket for each child. Once everyone has a clearly assigned spot, the mix-ups mostly stop on their own. This is one of the most requested mudroom backpack storage setups for exactly that reason.
Roughly what does a full mudroom renovation cost?
Basic hook-and-bench setups start around a hundred dollars. Custom built-in cabinetry with lighting can run anywhere from $2,500 to $6,000 or more, depending on materials.
Can renters do any of this without drilling into the wall?
Yes — adhesive hooks rated for a few pounds each, over-the-door organizers, and freestanding coat racks all work fine without leaving holes behind.
What height should hooks be for younger kids?
Somewhere around 36 to 42 inches usually works, but honestly, just measure your own kid’s shoulder and go from there.
| Image | Product | Rating | Buy Now |
|---|---|---|---|
 |
Amazon Basics Collapsible Fabric Storage Cubes Organizer with Handles Sturdy Storage Bins for Organization, 10.5″ x 10.5″ x 11″, Beige, 6-Pack |
4.7 ★ (119,440) | Buy Now |
 |
VASAGLE Coat Rack, Hall Tree with Shoe Storage Bench Entryway Bench with Shoe Storage, 3-in-1, Steel Frame, 12.6 x 27.6 x 68.9 Inches, Industrial, Rustic Brown and Black |
4.6 ★ (6,797) | Buy Now |
 |
4-Pack Car Headrest Hooks Holds 55lbs Seat Storage Organizer for Bags, Durable ABS Material, 360° Rotating, Car Hanger for Backpack Umbrella Water Bottle Coat Purses Handbags Groceries, Black |
4.6 ★ (54,291) | Buy Now |

Key Takeaways
Backpack clutter is almost never a space problem — it’s a “nobody assigned it a spot” problem. Hooks fix it fastest. Cubbies fix it best when there’s more than one kid involved. Pair whatever you choose with shoe storage in the same zone, since the two almost always get dropped together anyway. Whichever setup you choose, that’s the core of any lasting entryway backpack organization plan.
Expert Tips
If you’re setting up a full mudroom, keep your mudroom backpack storage zone separate from off-season gear like ski jackets or camping bags. Mixing daily backpacks with rarely-used items defeats the whole point. Kids should walk into the mudroom backpack storage area and know exactly where their bag goes, without digging through boxes first.
Entryway Backpack Organization Habits That Actually Last
Good entryway backpack organization isn’t a one-time setup — it needs a quick five-minute reset every Sunday. Walk through the system with your kids once a week so the habit actually holds, instead of falling apart by Wednesday when the pile starts creeping back.
Conclusion
None of these six setups need a contractor to get started, and most can happen over a single weekend if you’ve got the tools already. The real shift isn’t the furniture itself — it’s giving every backpack one obvious, specific spot near the door. Once that’s in place, the daily pile-up mostly handles itself. Pick whichever backpack storage ideas for entryway option fits your space and your budget right now, and adjust later as your family’s needs change.
Check out more trends on Pinterest


